View Edit Account Details
Account details page can be accessed by clicking on the View button (Pencil) from Accounts overview.
This page is grouped in sections, depending on the information displayed:
- Basic information
- Contact groups
- Contact methods
- Accounting information
- Addresses
- Contacts
- Quotes
- Orders
- Invoices
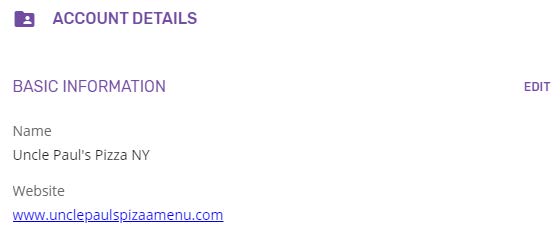
Basic Information
This section contains Account’s basic information, such as name, website and description, which can be updated.
Edit Basic Information
The Account’s basic information can be edited by clicking the Edit button from the Basic information section.
A new page will be displayed, allowing the editing of the name, website and description. Website and description are optional and can be omitted.
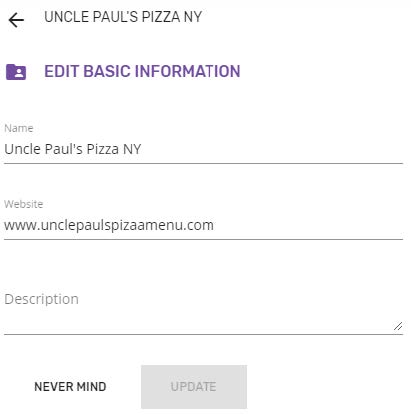
Clicking the UPDATE button will save the changes and return to the Account details, displaying the updated information. Clicking NEVER MIND will discard any change and return to the Account details page (the same as the Back button from the header).
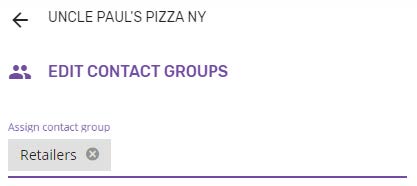
Contact groups
This section allows linking the Account to one or more Contact groups.

Edit contact groups page will be opened by clicking the EDIT button, allowing to add or remove the Contact groups. A group can be assigned by using the autocomplete form.
Contact methods
The Contact methods section from Account details page displays a list with all the contact methods available for the account, with the primary ones on top.
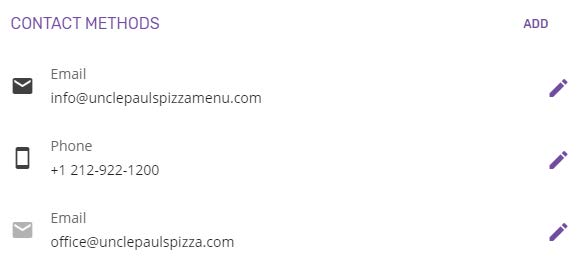
An Account can have only one primary email and one primary phone at a time. These cannot be deleted, only edited.
Add contact method
A new Contact method can be added by clicking the ADD button, which will go to the "Add contact method" page.
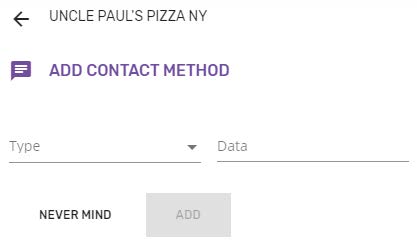
The following information is necessary for adding a new contact method:
- Type – dropdown list containing the available method types: Email, Facebook, Phone, Skype or Other
- Data – free input, allowing the user to type in the value for the selected type.
The values for email/phone type must be unique in the system, therefore an error message will be displayed in case these already exist.
The new contact method will be added to the Account’s contact methods by clicking the ADD button. The "Added successfully" notification is displayed.
NEVER MIND will discard any change and return to the Account details page (the same as the Back button from the header).
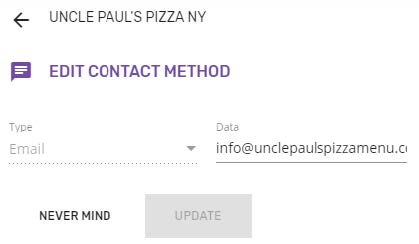
Edit contact method
All the contact methods can be edited by clicking the Edit button (pencil), which will go to the "Edit contact method" page.
Editing the primary email/phone will only allow changing the Data field, the Type being blocked from editing.
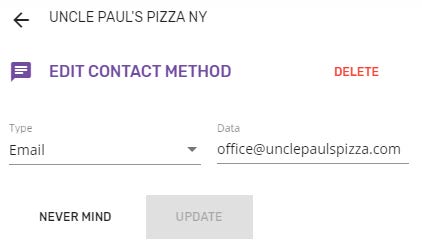
Both Type and Data fields can be edited for any other contact methods that are not primary.
Clicking UPADTE will save the changes and return to the Account details page, displaying the "Updated successfully" notification.
NEVER MIND will discard any change and return to Account details page (the same as the Back button from the header).
Delete contact method
Deleting a contact method can be done from Edit contact method page, where a Delete button is available for all contact methods, except for the primary ones.
Clicking the DELETE button will open a confirmation dialog to avoid deletion by mistake.
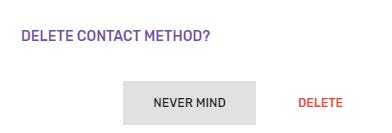
Confirming the action will delete the contact method and return to Account details page, where the "Deleted successfully" notification will be displayed.
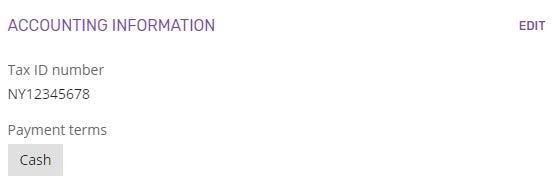
Accounting information
The Accounting information section allows setting the tax id number and the payment term method that will be used for the Account.
Edit Accounting information
Clicking the EDIT button will open the Edit Accounting information page, where the Account’s tax id number or payment term method can be updated.
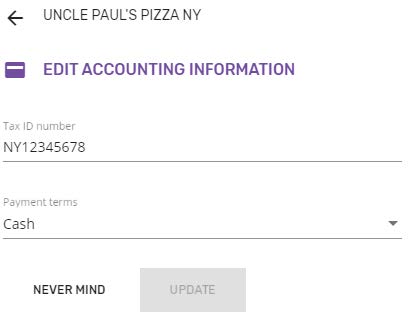
Tax ID number is an optional field that will be used when exporting orders and invoices.
Payment terms - one of the payment terms available on the shop can be selected from the dropdown list.
The changes will be saved by clicking the UPDATE button.
Addresses
This section displays the list of addresses available for the account: billing, shipping and other, with the primary one on top.
The Address that was set up when creating the account is the primary billing address and it will be used on the quotes.
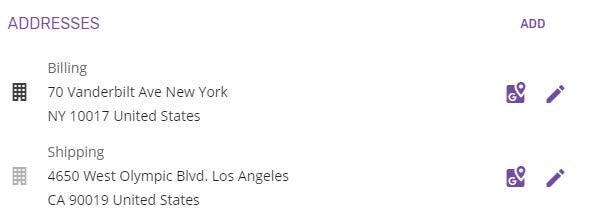
It should be possible adding a new address, editing an existing one or showing it on the map.
Add address
A new address for the account can be added by clicking the ADD button from the Addresses section, which will open the Add address page.
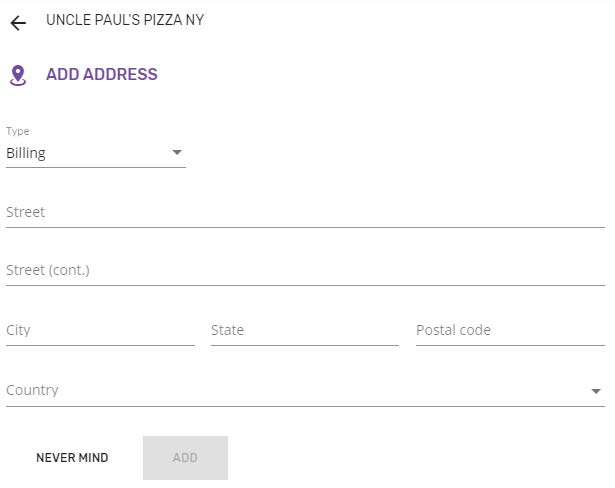
Type – address type must be selected from the dropdown list. It can be billing, shipping or other.
Street, Street (cont.), City, State and Postal code fields allow free text input.
Country – dropdown list with all available countries.
After all the required information has been filled in, the ADD button will become active. Clicking it will save the new address on the account and return to the Account details page.
Edit address
Editing an address is possible by clicking the Edit button, which will open the Edit address page (similar to the Add address page).
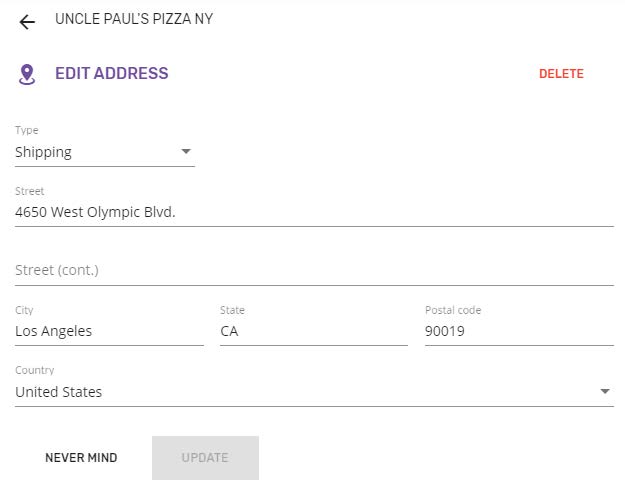
Note: The type cannot be changed for the primary address.
Clicking the UPDATE button will save any changes made on the address fields and will return to the Account details page, while NEVER MIND will discard any changes
Delete address
An address can be deleted by clicking the DELETE button from Edit address page, which will require a confirmation.
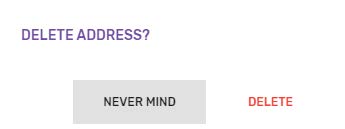
By confirming it, the address will be deleted from the account.
The primary billing address cannot be deleted.
Show on map
As an extra option, each address can be shown on map by simply clicking the Map icon . This will open the map in a new tab.
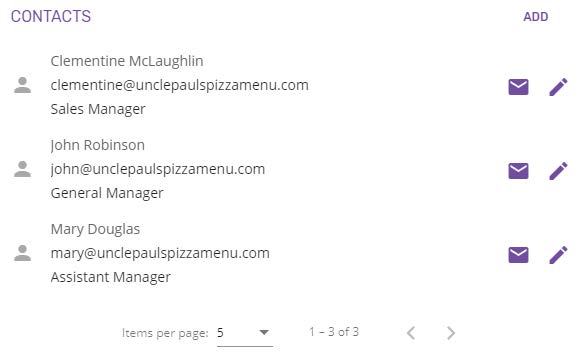
Contacts
The Contacts section from Account details page gives an overview of all the contacts that belong to the account. This section also allows to manage the contacts: add new contact, edit or delete existing ones, or just send e-mails.
Quotes
This section contains the quotes created for the account, showing Quote number and the date these were created. The quotes are displayed in a paginated list, being sorted descending by the date.
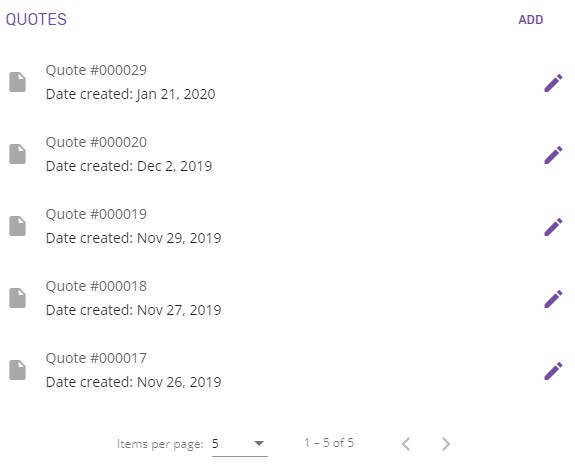
Clicking the ADD button will go to New quote page, while the View button will open the Quote details page.
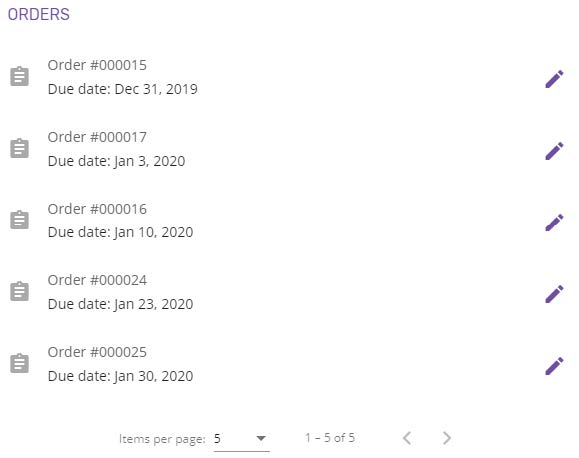
Orders
This section contains the orders created for the account, showing Order number and the due date.
The orders are displayed in a paginated list, being sorted by the due date.
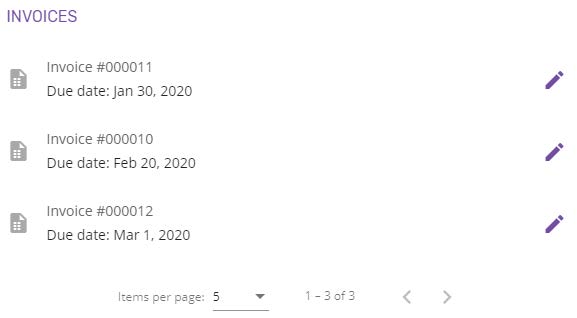
Invoices
This section contains the invoices created for the account, showing Invoice number and the due date.
The invoices are displayed in a paginated list, being sorted by the due date.